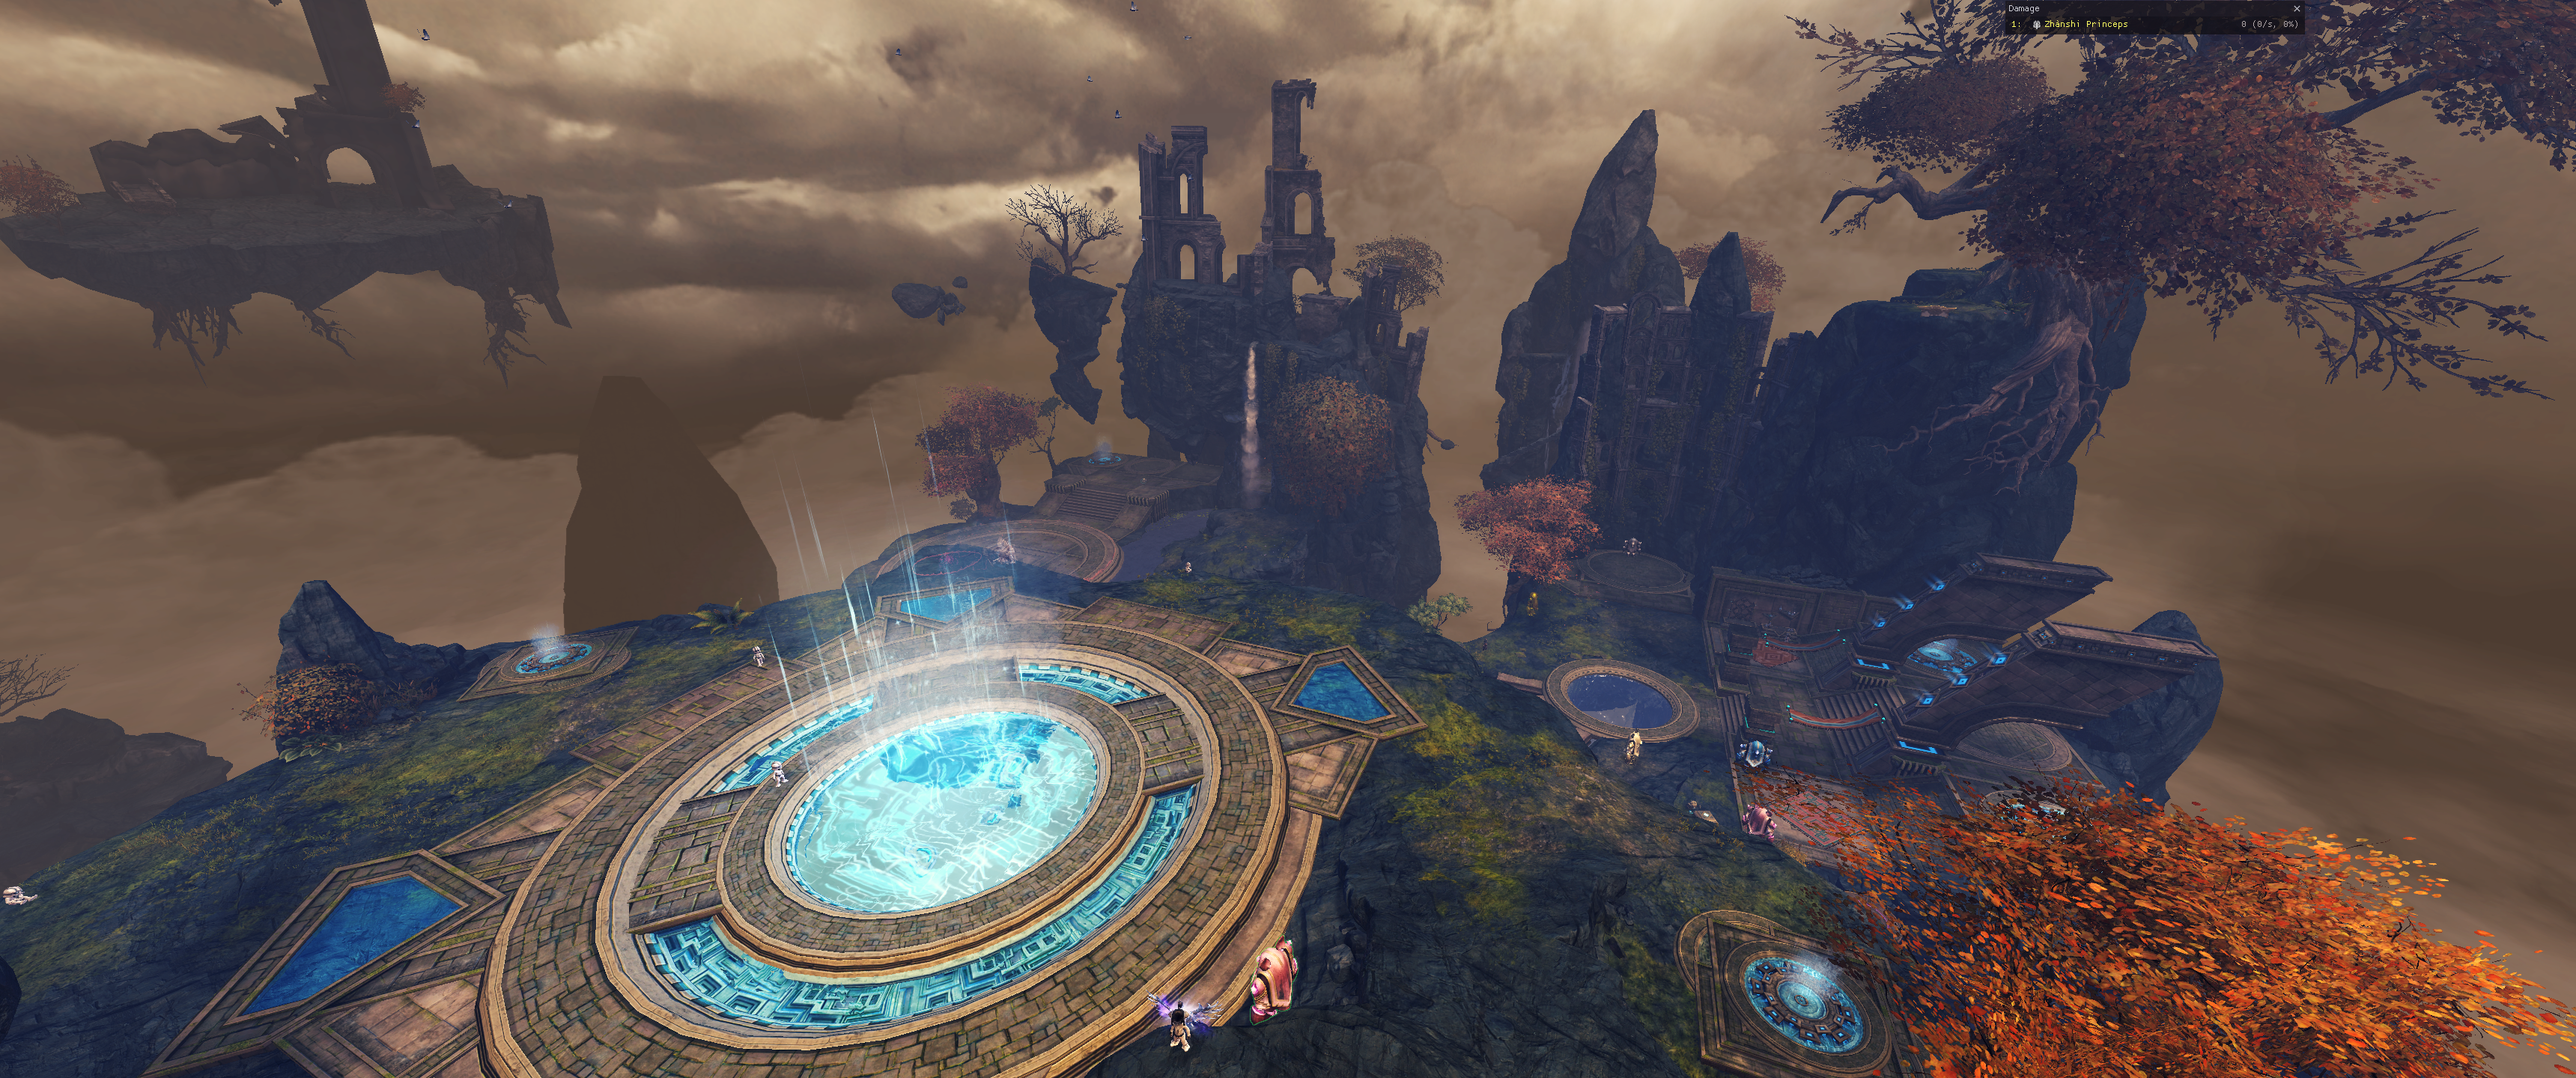
The
Condi
This build is naturally tanky due to its rotation, having above 90% uptime on the
The main downside of
Traits
FireSituational Traits
| | Can easily cover a large amount of |
| | Provides a bit of tankiness in the form of extra vitality for minimal DPS loss. |
Defiance Bar Damage
Hammer
| Skill | Damage |
|---|---|
| Hammer | |
| | 150 with |
| | 200 with |
| | 50/s with |
| | 33/s with |
| | 250 with |
| Scepter | |
| | 150 with |
| | 33/s with |
| | 33/s with |
| Warhorn | |
| | 150 with |
| | 150 with |
| | 20/s with |
| Focus | |
| | 400 with |
| | 15/s with |
| | 33/s with |
| | 200 with |
Many of these skills aren’t accessible during the normal rotation due to being locked behind attunements you don’t use.
Situational Skills
| Heal | |
| | An additional |
| | A stronger alternative healing skill when you need to restore a large amount of health very quickly. |
| | Another alternative healing skill affecting allies close to the target you strike. |
| Offensive | |
| | A stronger alternative to |
| Defensive | |
| | A stun break with the addition of 3 blocks. |
| | Another stun break that provides extra |
| | A strong skill providing a lot of barrier and extra |
| | Yet another stun break with the addition of evade frames. |
| Utility | |
| | A 900 units teleport for easy repositioning. |
| | You can sacrifice some DPS for a powerful insta rez, can be very useful during “Dancing with Demons” runs. |
Situational Weapons
- Scepter - A lower dps option that is fully ranged and opens up the offhand slot.
- Warhorn - Your first choice of off hand, useful if your group struggles with boon uptime due to access to
Sand Squall . - Focus - Less dps than warhorn but offers higher cc and more situtional utility in the form of condi cleanse with
Magnetic Wave and invulnerability withObsidian Flesh .
Important Notes
-
Signet of Fire is one of your most important DPS skills. Use it off cooldown! -
Make sure to always use
Glyph of Elemental Power inFire Attunement . If the boss is about to phase or die, your next best option is to use it inEarth Attunement . If you find yourself is any other element, you should use it regardless, as it grants increased strike damage on your next few attacks. -
Primordial Stance should be used before attuning tofor maximum damage output. However, if the boss’ breakbar is about to be broken or about to phase, you can also use it during or . -
Although it is important to follow the weave self rotation as closer as possible, the timing when it comes to completing it, is extremely tight and you might find yourself unable to do it especially if you don’t have boons precasted on you and they have to be applied once you get in combat. In that scenario the best adjustment you can do is slightly altering the ending. Instead of doing the
/ => / => / loop, do this one: / => , use Triple Sear and activateDual Orbits: Fire and Water there, attune to/ , use Whirling Stones , activateDual Orbits: Water and Earth , move to/ and continue with the main loop. -
In the video, a 2nd
Weave Self rotation is shown, which is the same as the 1st. If the encounter has downtime due to phases in between when the boss can’t be damaged andWeave Self comes off cd then you can freely attune to air and start from the opener. If it doesn’t and you know the boss is going to phase before you need to finish the weave self loop, then you can useWeave Self right away the moment it comes off cd in the attunement you are in and only switch betweenand without entering Tailored Victory . If you getWeave Self off cd mid fight and the phase is long enough that you need to complete it then it is recommended to attune toand start from there because completing weave self otherwise is going to be a lot more awkward. -
Hammer 3 orbs are an important part of your damage not only because of their offensive buff but also because they apply condis each time they hit the enemy (they hit once per second). That is why you want to have both
Flame Wheel andRocky Loop active for as longer as possible. Keep in mind that these buffs get activated together withDual Orbits: Fire and Earth but you can only activateFlame Wheel individually because you never double attuneEarth Attunement . Eventually the cooldown ofDual Orbits: Fire and Earth starts being less aligned with the rotation which is why you go from throwingGrand Finale before leavingFire Attunement to throwing it when you enter/ and then when you leave / . If needed you can also use Grand Finale in/ as long as you know Dual Orbits: Fire and Earth is going to be ready to activate.
Rotation outside of Weave Self
-
Singeing Strike untilSurging Flames is almost off cd
-
Singeing Strike untilSurging Flames is off cd
-
Singeing Strike untilSurging Flames is almost off cd