

Use
Start: Run!
Let your
Use Boons like
First Sandbinder
Treat each Sandbinder like any immobile boss and attack accordingly. Keep in mind that
After you killed the Sandbinder you can use /gg to reset the
Priestess Amala (Basic)
Next up you will encounter Priestess Amala for the first time, bring her to 75% health and she wipes your party to praise Joko.
She uses the Scythe Slash attack (causes
You can freely use /gg after the roleplay starts to reset cooldowns. Note that you will not be able to move your character until Joko resurrects Amala or your character is female (human female is meta afterall).
”Storm the Rooftops!”
Now that you’re awakened, you gain access to a new special action skill which launches you high into the air and breaks
It can also be used to jump while casting any skill that requires you to stand still otherwise, as long as you do not move in any direction (
Jump up to the roof on the right-hand side and kill two Sandbinders on the roofs. The first is a copy of the Sandbinder you fought at the beginning, the second one also uses Dwayna’s Lightning Storm (strafe sideways from allies to avoid it).
It is also possible to skip the tornado between the two Sandbinder using this portal skip shown below.
Slower skip
Faster skip
Slower skip (any class)
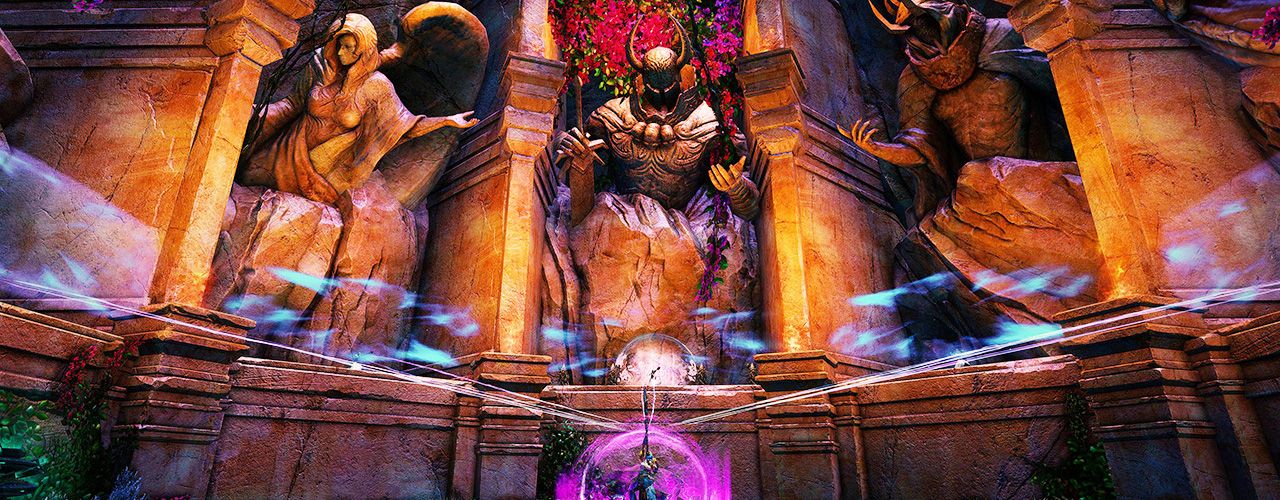
Priestess Amala
Stack
Permanent Mechanics
| Breakbars | A breakbar will occur at 85, 65, 45, 25 and 5% health. Amala will cancel any ability and teleport to the middle, break her bar or she deals high damage to the team and recovers health. |
| Scythe Slash | A small AoE centered around Amala that will |
| Scythe Combo (below 85% health) | A 9-part attack chain dealing AoE in a fixed pattern, depending on the current god incorporation. |
| Energy Wave (below 85% health) | This attack is telegraphed by a small AoE on the ground, which then erupts into a large shockwave after 2.5 seconds. This can be avoided by either dodging, blocking or using SAK. |

Lyssa 100%-85%
First off, figure out which out of all the clones is the real Amala and ping her for the other players.There are a few tells to help you:
- Amala herself is the only Legendary rank enemy, other clones are above level 80
- She uses Scythe Slash when someone is in melee range
- When she uses her Moa Signet, the
Signet of Humility icon will appear above her
The player targeted by the Moa Signet should use the special action key the moment it completes to prevent others from being transformed.
When Amala drops below 95% health she will begin teleporting around, making new clones whenever she does so. Using the change target key (usually TAB) will automatically target her if she is in your line of sight. Try to step around the purple portals on the ground so you avoid being teleported up in the air.
Break Amala’s defiance bar to continue to the next phase.
Priestess of Lyssa
Amala turns invulnerable and leaves a Priestess of Lyssa behind who uses the same purple portals and Moa signet. Burst her down quickly to avoid taking high enrage damage from her clones.
Melandru 85%-65%
The biggest danger of this phase is the Earth Elemental, which has a multitude of control effects it applies in AoEs. While killing it is possible this is hardly an effective option, so you can either get the player it fixates on to run off the party stack, or use blocks and evades as necessary to avoid its attacks. Be aware that its Boulder Throw projectile can be reflected.
In this phase, Amala’s Scythe Combo AoEs apply a small

Priestess of Melandru
This priestess will cast a rectangular AoE between herself and Amala, avoid running over them so they don’t
Dwayna 65%-45%
Amala will periodically gain
In this phase, Amala’s Scythe Combo AoEs apply a short
There are far more attacks that occur directly on top of Amala in this phase, but there is less incoming CC so they can be healed through in general. The group will still need to spread out during the Lightning Storm attack as it cannot be blocked with
After Amala drops to 60% health, she will start summoning five tornadoes. Much like the ones summoned by the Sandbinders, they will draw your character toward their center and apply damage and
Priestess of Dwayna
The Priestess of Dwayna only has one attack which cannot be interrupted: a different iteration of the Lightning Strikes attack. Unlike Amala’s, these strikes will land randomly, so the best way to deal with them is to remain near the edge of the alcove where you’re less likely to be hit. Also be aware that when engaged the priestess gains
Grenth 45%-25%
Amala will periodically gain
This is another phase that for the most part can be stacked and DPSd through, as it has very little CC involved. The biggest danger of this phase however is the Claim Soul attack, recognizable by a small orange AoE - it is unblockable and will immediately send you into downed state.
At 40% health, Amala summons an arrangement of Spectral Walls that box you into the middle. Touching these walls will
Priestess of Grenth
The next priestess applies
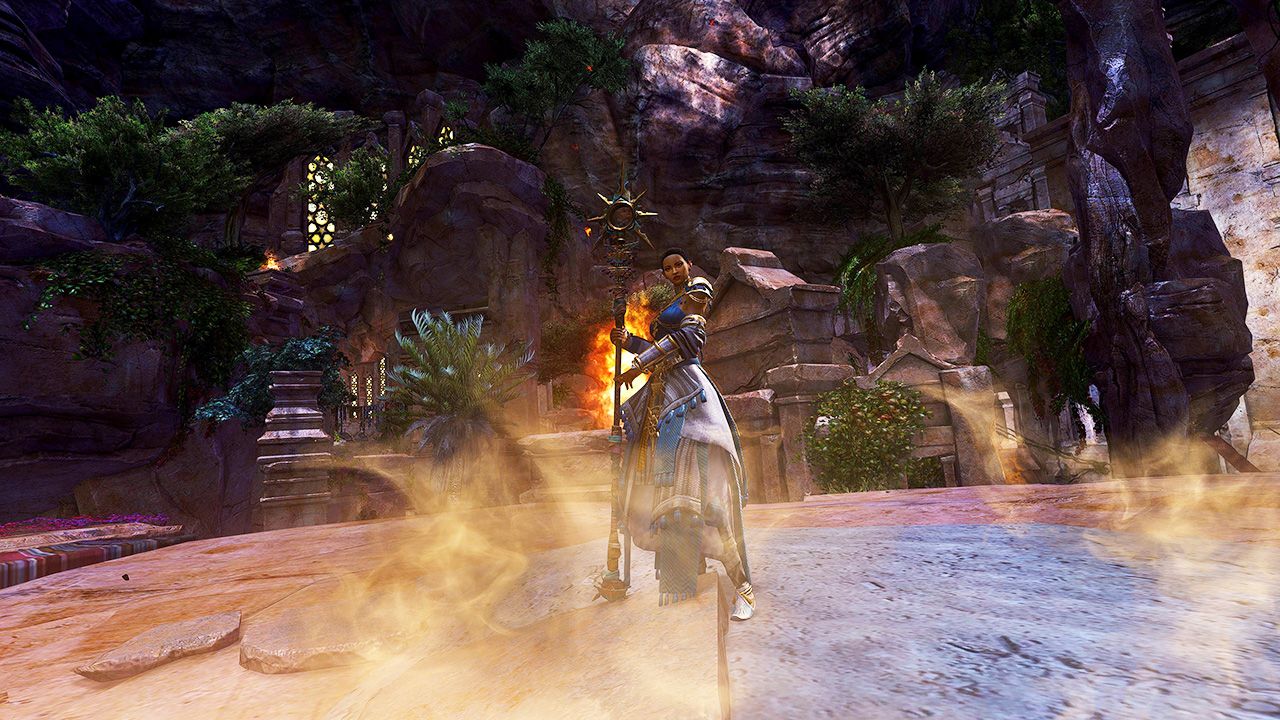
Balthazar 25%-5%
During this phase, Amala will periodically receive
While for the most part Amala’s attacks can be healed through this phase, some of her attacks are devastating as they have large telegraphs like Meteor Strike and Wings of Rage. As such, try to reposition out of AoEs as necessary.
Do not try to tank her Fire Arrows (telegraphed by a circle AoE on top of her with arrows pointing out) as this does extreme damage if you’re hit by each subsequent arrow AoE.
Priestess of Balthazar
This priestess doesn’t do much outside of calling down small meteors which
”Perish With Me Traitors!” 5%-0%
For the final 5% health, Amala will continue to use all of the attacks from the Balthazar phase with additional small meteors striking the surrounding area. Finish her off to complete the fractal.